Build Diary Of E's Amp
- Dusk Brothers

- Nov 6, 2019
- 4 min read
Updated: Feb 9, 2021

We promised we'd put together another build diary so here it is.... this time it's E's guitar amp. The build started by finding a schematic and layout, we finally settled on one put together by rob robinette (a tube amp guru) of the famous and almost unobtainable fender vibroverb. This particular version left out the reverb and vibrato which was perfect as we only had a chassis made for a much smaller amp which still needed drilling and cutouts for the tubes, wiring and transformers. The finished result surpassed all our expectations!
It all starts with a turret board. We use bakelite and machined brass turrets which we drill tight and hammer in. It's worth taking a bit of time to get this part right, especially in a tight chassis. We always add a couple of extra turrets for any tone shaping additions we want to make.

Next we add the components. It's good practice to bend at least one leg on the components to allow for expansion and leave a small tail from the turrets to make it easy to change any bad capacitors or resistors in future. We test them all before the go on the board. Once they are all dry fitted we pin them with solder spots making sure the turrets are well heated and the solder has flowed nicely. A duff connection at this point can cause a lot of headaches down the line. We leave the holes in the top of any turrets that has a wire connected.

A top view of a fairly complex little system. The copper wiring is the ground bus.

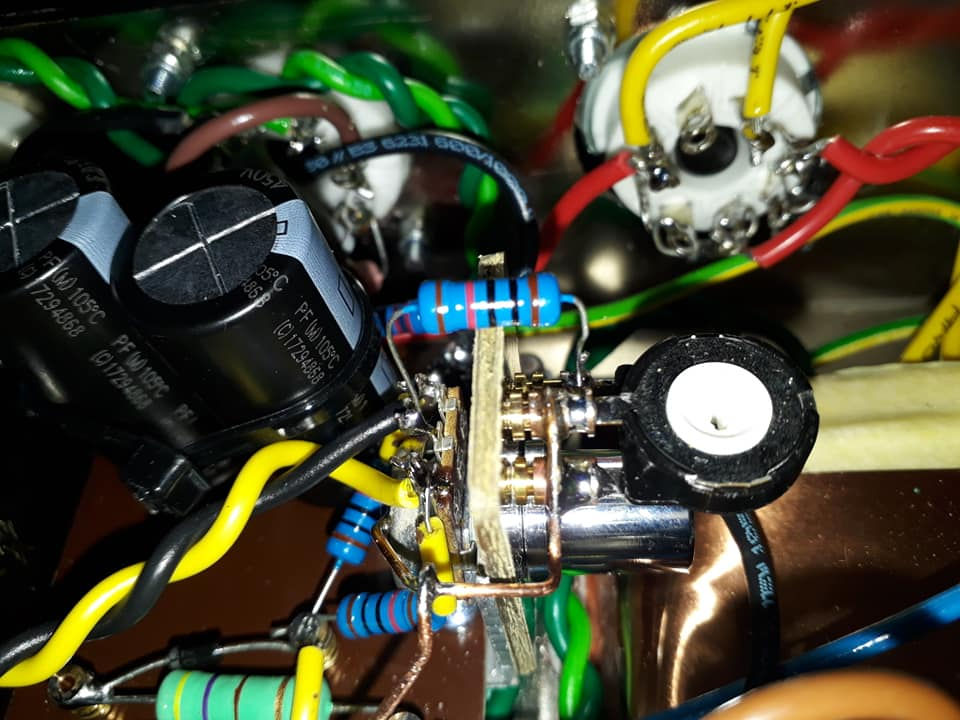
This is a small stand up board we designed due to the limited space in our chassis. This will control and evenly split the negative voltage to our power tubes.

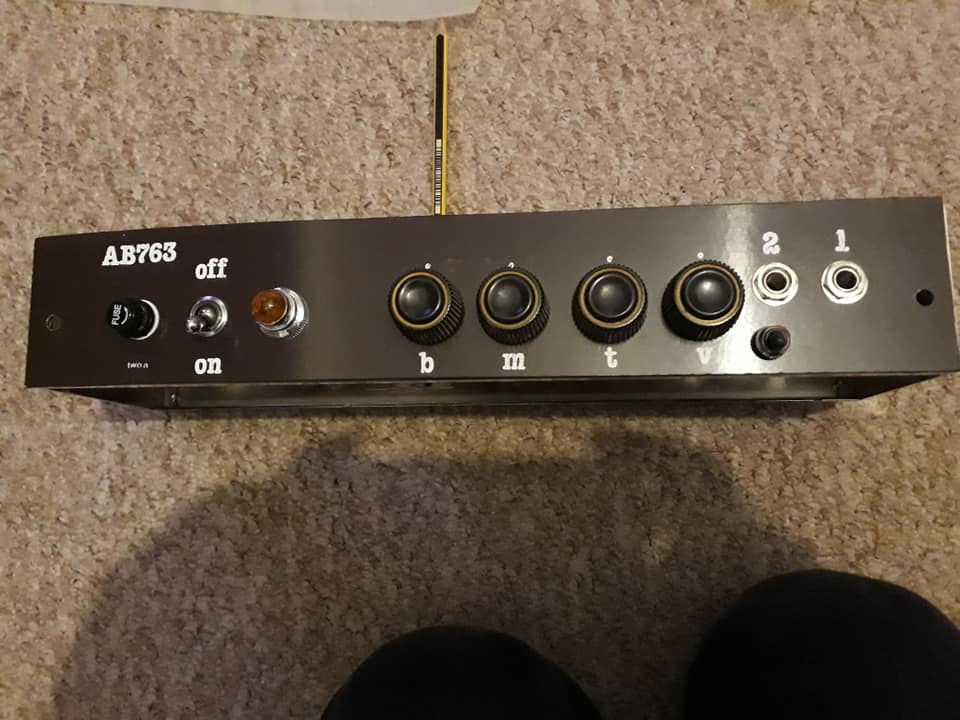
Then cut and drill the faceplate.

Then add the lettering.... white letraset and a coat of clear laquer did the job for this build.
Then the big job of wiring the whole thing up!
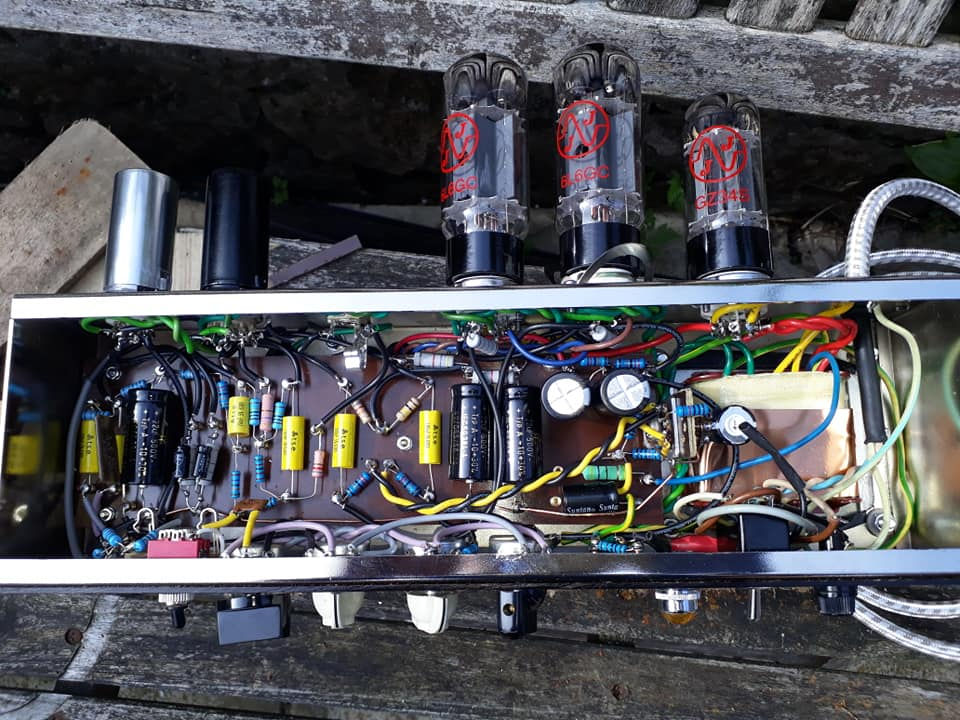
More views of just how crammed this chassis is... being careful with wiring runs keeps the amp running quiet and hum free even in a crowded chassis like this one.
The finished chassis looking lovely


Those big brown and red capacitors are probably 50 years old! We buy new old stock silver mica caps which are much cheaper than the modern equivalents and look pretty darn cool as well. They are generally as good as the day they were made even 50 years on!

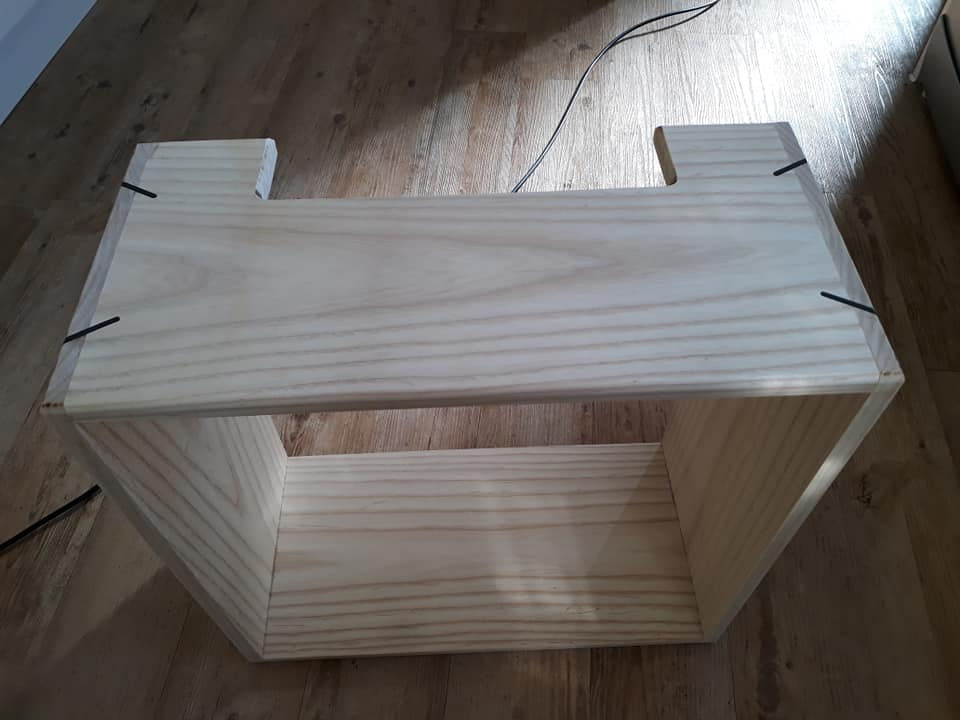
We decided to use solid ash for the cab as the plan is to use nitrocellulose guitar laquer to finish it. Ash has one of our favourite grain patterns and is nice to work with and kind to your saws!

We don't have any fancy dovetail or finger joint jigs so the cab is getting screwed together. To hide the screws we use a forstener drill bit to make a hole which the screw sits inside.

We then cut plugs from the off cuts of ash

Once the cab is screwed and glued together (on our diy square joint jig) we glue the holes we made and tap in the plugs with a hammer. If you line up the grains these plugs can look really good.

Once the glue has set we use a fine tooth gentlemans saw to cut away most of the stock

We then sand them back flush.

Next job was to add the ebony splines. These are mostly to add a bit of glamour but they also add stability to the joints. We used a router to cut and angled groove through the joint. Then glued in some pieces of ebony we had left over from a fretboard.

Again cut them back and sand flush.
The finished joint.

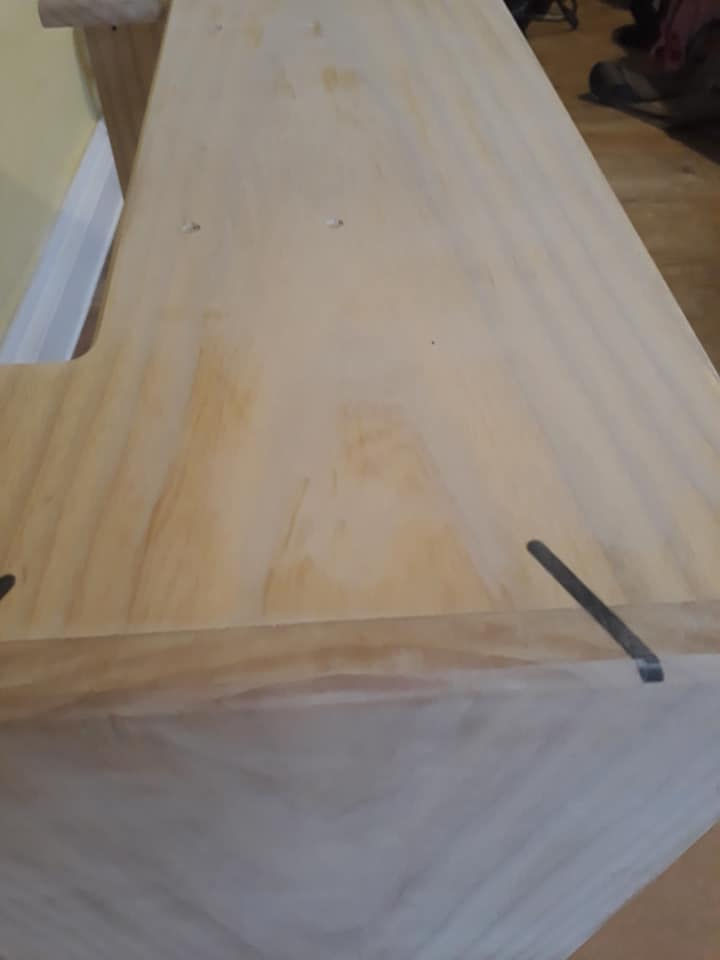
Then drill all holes for hardware..... it's worth doing this before rounding off the edges as it's much easier to measure accurately from square edges!


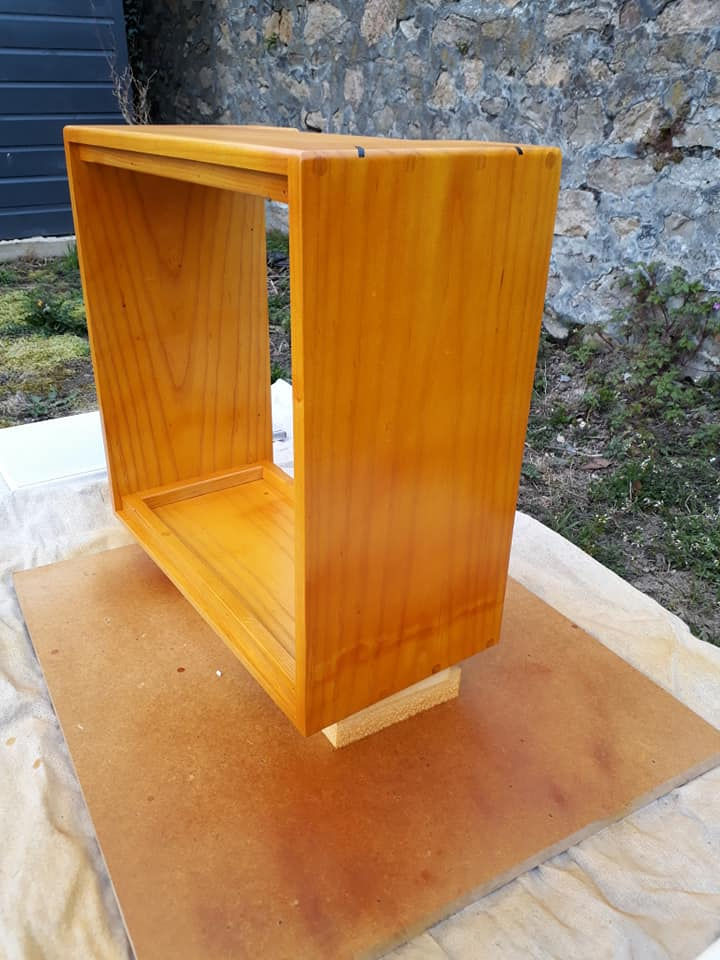
Nearly there now.

The moment of truth to see if youre cabinet is square.... we had the acrylic laser cut as the circular hole is very much the centre piece and acrylic can chip and splinter with jigsaw cuts. All holes were drilled with masonry drill bits as the acrylic hates sharp cutters.

We apply a coat of sanding sealer and sand the wood to 200 grit.
We then apply a coat of grain filler, leave to dry and sand back.

It doesn't look pretty but it'll make our laquer coat finish like glass, and the nitrocellulose laquer will bring the grain back out.
Some drips at the bottom......oh no!

The first coat.

After a few more coats it starts to look decent.... spraying this stuff in the wind is not the ideal conditions but it's the only place we have.

Starting to shine!

Then the clear laquer..... no need to sand between coats with nitrocellulose as each layer melts into the previous one.

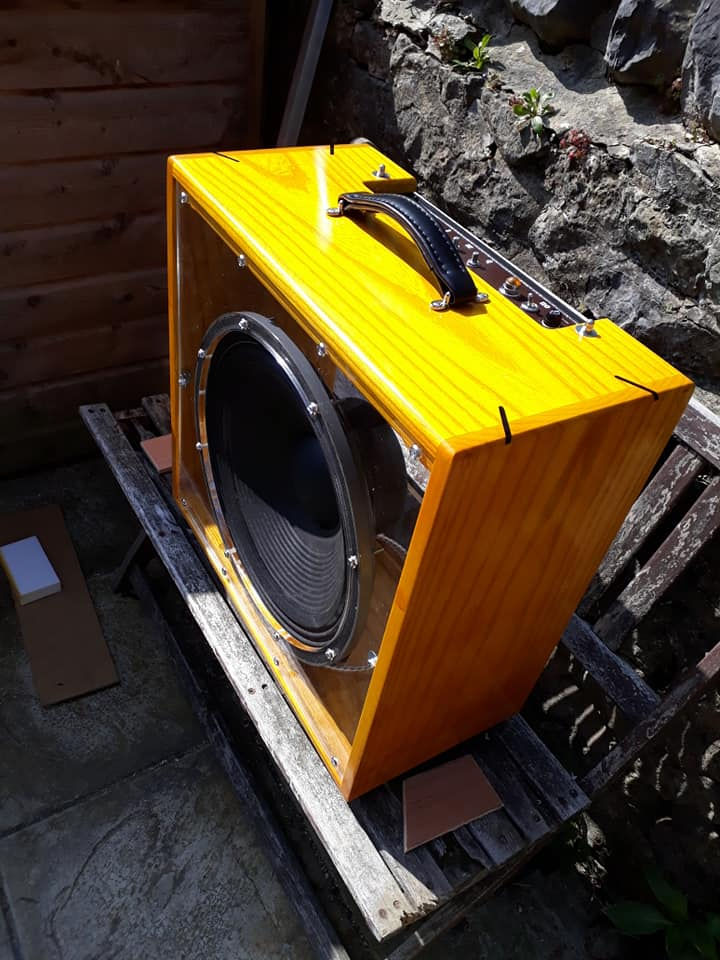
The cab now has an incredibly deep colour and shine, sunlight is always a good benchmark to see how good your prep work was!
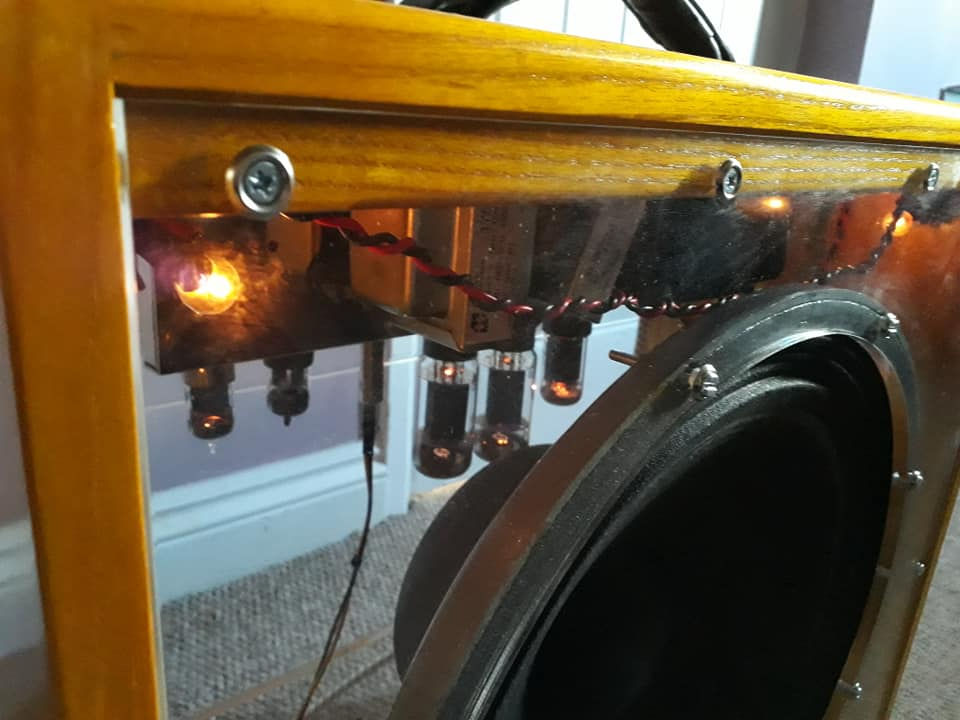
Next job is to add a couple of 6v bulbs to light up the acrylic baffle.

The bulbs and bulb holders were pinched from the front panel of an old tube radio.

Tube glow is a beautiful thing!
You can still see the drips from the spray can if you look closely.

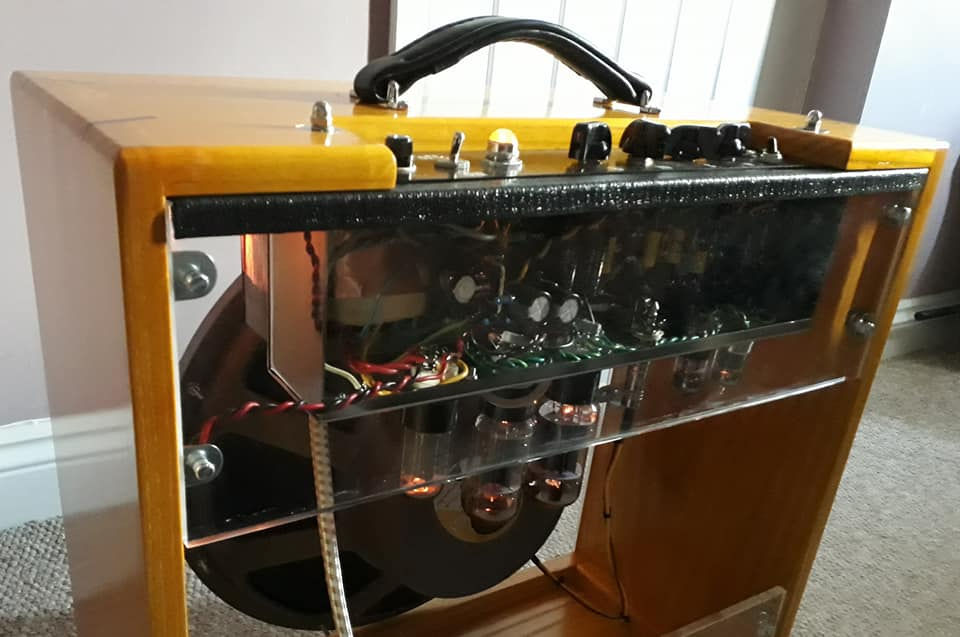
Top view.

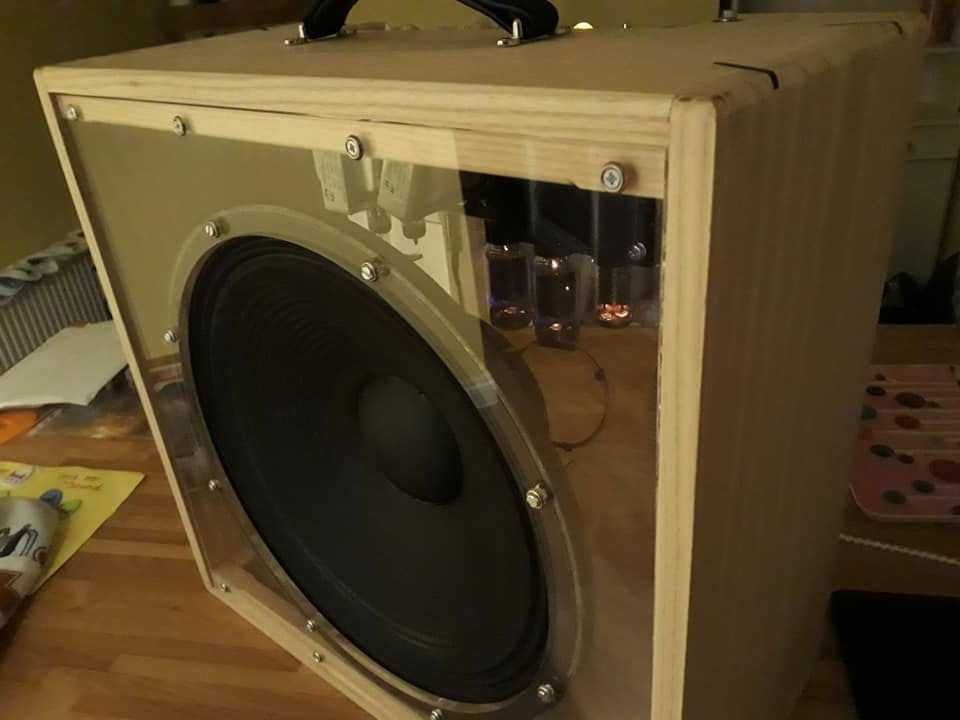
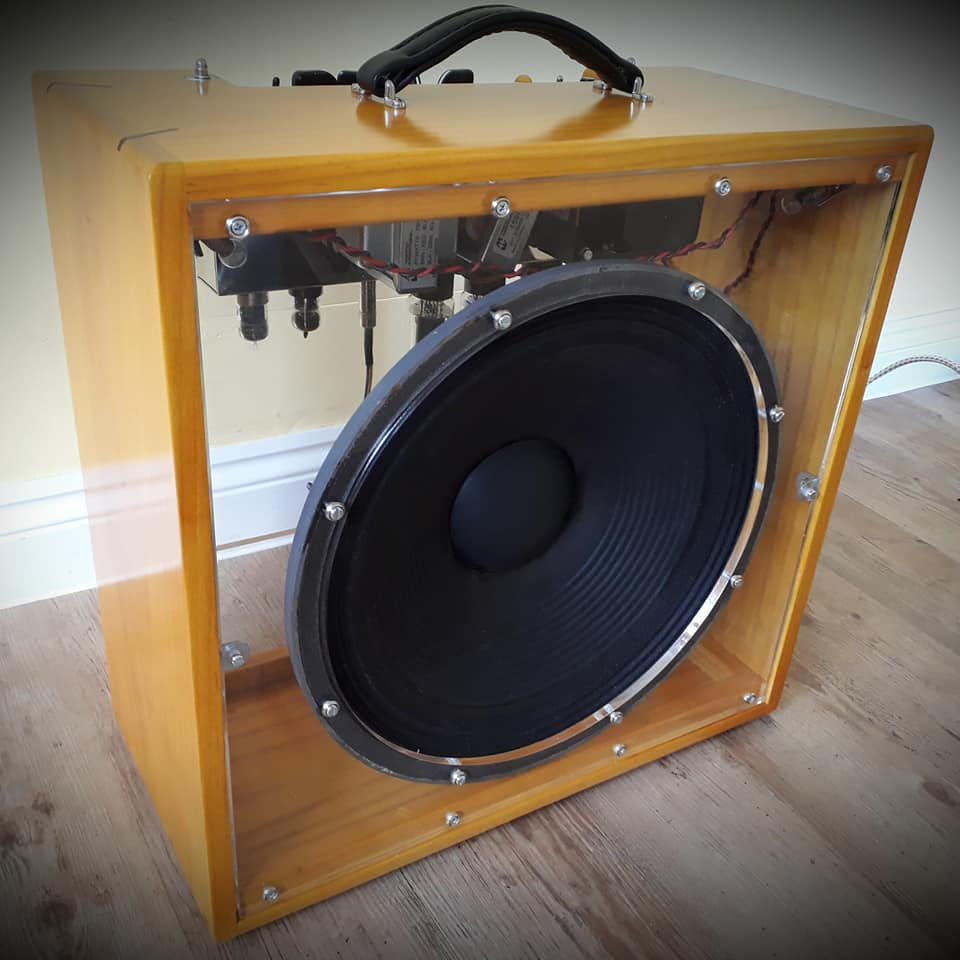
The acrylic back plates allow you to see all the electronics.... some purists would say it should be shielded.
A tweed style power chord finishes the look. This was eventually pinned to the side of the cab with some old metal cable clips.

We used van door trim to buffer the top of the acrylic panel. This keeps it slightly away from the chassis.... enough to allow it to breathe but not enough room for wandering fingers to touch the 550v inside!
A nice view of the old 15" jbl d130f speaker we chose to use. This amp sounds incredible and should last longer than us. We hope youve enjoyed seeing what goes into making something like this.

And a shot of the finished amplifier! We are very proud that Rob Robbinette (The man who designed this incarnation of the classic vibroverb) has used the amp as the example on his heralded amp building pages.


Been using Pico Image for a while now for resizing and compressing images. It runs entirely in the browser so nothing gets uploaded to a server, which I find reassuring. Background removal works pretty well too, saves me from opening heavier software for simple tasks.
Living the Grid is a simple browser tool that turns any image into a tomodachi grid, making it much easier to recreate designs inside the game without guessing each pixel.
That turret board is a work of art, and I love the choice of ash for the cab—it’s going to age beautifully with that nitro finish. I’ve been spending my downtime lately checking out some gaming lore for visual inspiration and found https://crimsondesert.pro really useful for following the Crimson Desert updates. It's cool to see this level of craftsmanship in different hobbies.
Null’s Brawl APK, sınırsız elmas, altın ve tüm karakterlerin açık olduğu özel bir Brawl Stars sunucusudur. Oyunculara özgür, eğlenceli ve sınırsız bir deneyim sunar.
La Beca Rita Cetina apoya a estudiantes destacados de Yucatán, brindando oportunidades académicas para continuar su formación profesional con igualdad y mejores recursos.